

My love for canning began a few years ago and started with stewed tomatoes. I get a little braver each year (is "braver" a word?) - and have expanded my canning repertoire to include the most basic vegetables like tomatoes, carrots, corn, beans (all kinds of beans), potatoes, as well some meat and of course jam. I will be honest here and tell you that the first batch of jam I ever canned turned out HORRIBLE! I still have the jars sitting on my pantry shelves in the basement. I can't bring myself to throw the darn things away, but I will never use them. Don't ask me why I keep them. I also like to leave my freshly canned goods sitting on the counter for a few days when I'm done. I like to see them when I walk into the kitchen and admire them, I guess. That's kind of vain, isn't it?
Anyway, it took some experimenting for me to get my jam to turn out just right. I even tried freezer jam, but for some reason that was way too sweet for me. I know, right? Is there such a thing as too sweet? Well apparently, for me, there is.
Do you want to know the secret that I discovered to this whole jam canning mystery? Don't put the jam in a water bath. You should know that this method is not approved by the USDA or any government regulated agency that is associated in any way, shape, or form with food preperation. You should also know that I have discovered that this has been the method for many moons and just recently has been changed by the government. I will go no further on this subject because I want to keep this post positive ;-)
I should, however, add that waterbaths really are important when canning food. Just not jam. This is because the purpose of a water bath in canning is to process the food inside the jars and seal them to preserve them. Jams don't need this time in the water bath to be processed. You process it enough when you cook it and you just need to be sure that you preserve it by making sure your jars are sealed. You can overcook your jam by putting it in a waterbath. I'm telling you not to water bath your jams. I'm just saying that I don't.
Soooooo even though I am not actually going to give these guys a water bath, this is still a great way to get familier with canning because it introduces you to some of the process.
Let's get started.
According to the directions on the box of Sure-Jell pectin, you will need:
5 cups of prepared fruit (about 2 qts of fully ripe strawberries)
1 box of sure-jell fruit pectin
1/2 tsp of butter or margarine (I don't use it)
7 cups of sugar (seriously. seven. God's perfect number, by the way)
You can buy your fruit in the local grocery store when it goes on sale or you can go strawberry pickin' with your kiddos, or you can go to a local farmer market and buy them freshly picked for you. I'm about 8 mo's pregnant, so that's what I did this year. I did start my own strawberry patch, but I'm not yeilding enough yet. YET! Next year I hope to use all my own berries.
Decide how many pints of jam you want when this is all said and done. The recipe above will yeild you about 4pts. I like to do about 20 (these make great gifts). Be sure that you don't double the recipe though. You can prepare enough fruit for 4-5 batchs, but when it comes to mixing everything - DO ONE BATCH AT A TIME! I promise it doesn't take that much extra time and the end results are worth it. Trust me on this one. I always do one batch at a time, but I usualy like to just do 2-3 batchs a day. If I'm going to make the mess, I might as well get all done.
Any successful canning operation begins with prepration. Once you have figured out how many jars you plan to fill, get your jars, rings, and lids out. Wash the jars and rings in hot soapy water or the dishwasher. And then once they are clean, you can place them in boiling hot water (or leave them in the dishwasher so that they are still steaming hot when you are ready to fill them). Put your lids in a bowl of boiled water and let them sit there while you prep your jam.


Now it's time to prepare your fruit. Wash and hull enough strawberries to accomidate your plans. Remember, you need about 2qts of strawberries for each batch. Hull means to take the stem off the tops of the berries. I like to leave a little berry on my stem and feed them to my chickens. They LOVE me for this.


Now it is time to crush your strawberries. Remeber that we are making jam - not jelly. You want to crush them. DO NOT PUREE THEM. That is a differant recipe. You can do this by using a potato masher or a food processor. But if you use a food processor, use the "chop" setting. I've made this mistake and it prevents your jam from setting right in the end. I don't like my jam to be really chunky, but I tend forget sometimes that the berries will cook down during the whole process, so leave them a little chunkier than you think you are going to want them in the end.

Get out a large saucepan (6-8qt size).
Measure out 7 cups of sugar into a large bowl and set it aside.
Now measure 5 cups of your crushed berries and pour into the pan. About 2 qts of strawberries should yield you about 5 cups once they are crushed.
Then add the pectin to the pan and stir it all together letting it cook over high heat until it comes to a rolling boil (a rolling boil means that it doesn't stop boiling/bubbling when you stir it).


Once it comes to a rolling boil, pour in the sugar and QUICKLY (but don't freak out about it) stir in your sugar. Then bring it back to a rolling boil and let it stay at a rolling boil for exactly 1 minute.
(I'm not sure I ever do exactly one minute. That's a lot of pressure. But get as close to it as possible)

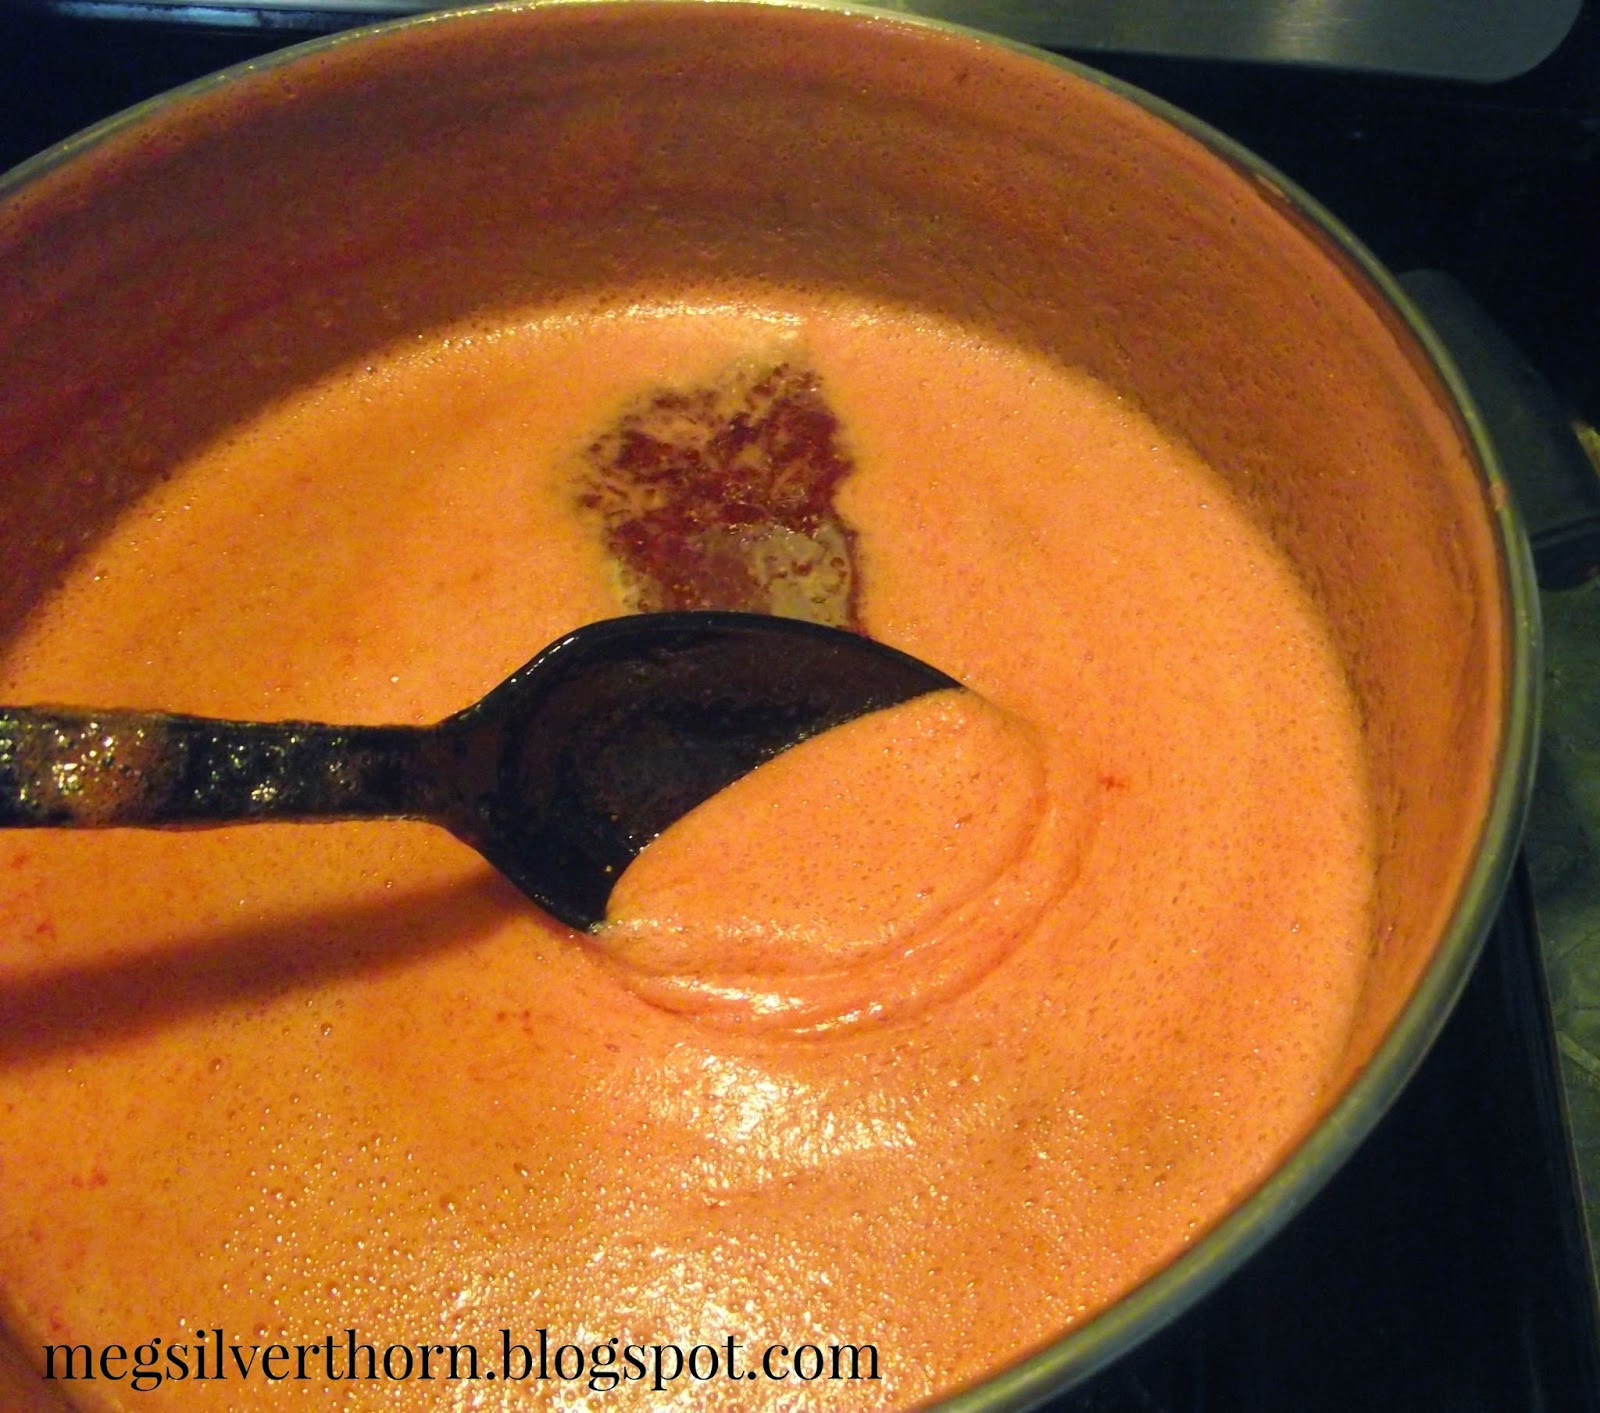
You'll notice a nice layer of foam developing at the top of this concoction...

After the minute has passed, take your pan off the heat immediatly and skim off the foam.
Remove your jars from the pan with hot water (or the dishwasher) and immediatly begin filling your jars with jam. Sure-Jell says you should fill them 1/4in from the top. I eyeball that.
 |
| notice that I'm not grabing the HOT jars with my hands |
 |
| also, notice that there is still a little foam left that I didn't skim off. Nobody is perfect. |
Take a wet washcloth and wipe off the top of your jars when you are done filling them. The purpose of this to be sure that when you put the lids on, they get a good seal on the jar.

Now place your HOT lids on the jars and, using a towel to grip the jars (because the jars and jam is very HOT), screw the rings on as tight as you can. Are you grasping the fact that everything still needs to be hot? If it's not, this won't work.

Now flip those babies upside down!
And leave them that way overnight. In the morning you can flip them back over and check to make sure they are sealed. You will know the jar is sealed if you press down on the lid and it doesn't pop. They pop on their own....and it is a lovely sound.

And there you have it, my friends. Homemade strawberry jam. Without a water bath.

Thanks, Megan. You make this sound so simple that even I can do it! I'm going to be looking for a good deal on strawberries now!
ReplyDeleteYou're welcome Claudia! Good luck to you! Let me know how it goes!
Delete